Exoplanet Materials
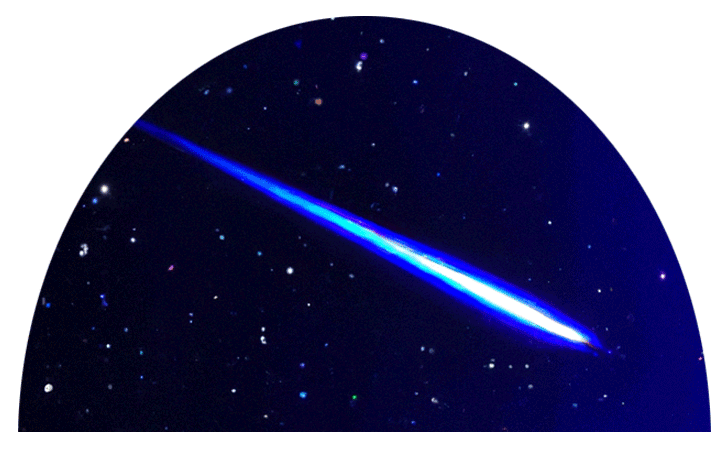
Rainbow projector
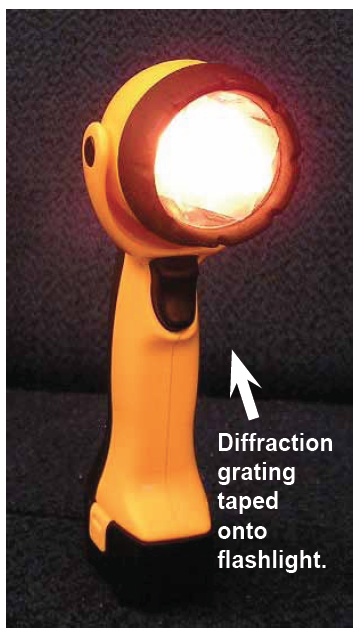
Use a prism or diffraction grating mounted on a light source, such as a flashlight, overhead projector, or slide projector. Quality of spectrum is better with brighter light source and slit shaped source.
Easy Alternative: A movie or still image(s) depicting the flashlight/rainbow demonstration (Rainbow.mov).
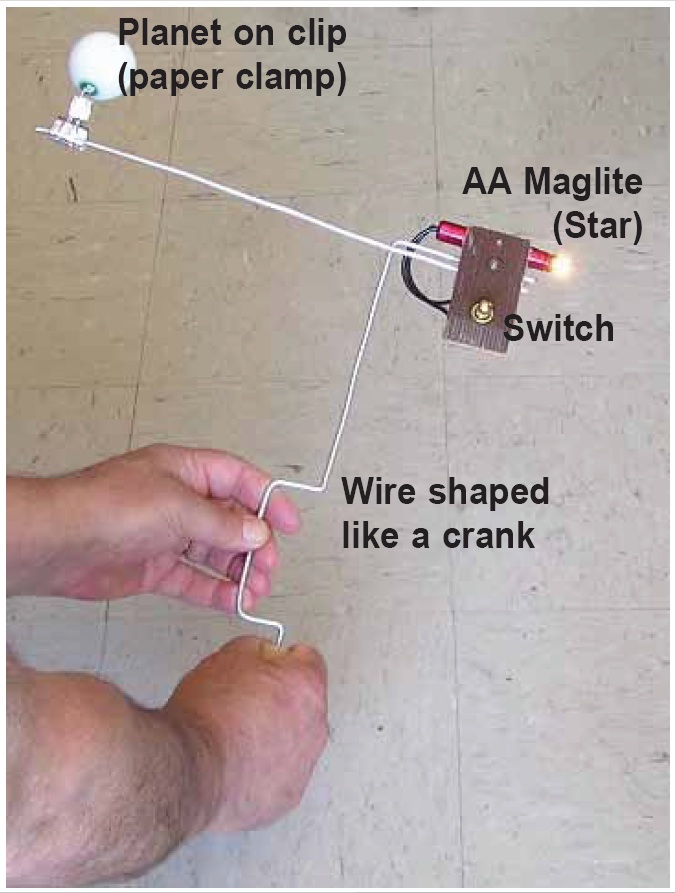
Portable star-planet model
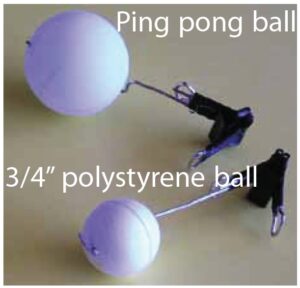
Make a portable star-planet model that the presenter can carry around to demonstrate wobbling motion of a star. The star is a flashlight bulb and the planet a large bead or light-weight ball, such as 3/4” polystyrene sphere. They are mounted on sticks or stiff wire in a way that the model can be easily spun on a handle (e.g. with wire shaped into a crank) and the star is off-axis so it will exhibit wobbling motion. The effect is better still if the crank is black or dark colored, with only the star (light) and planet ball white.
Optional:
Make the star-planet distance and the amount of wobble adjustable. Also have option of swapping in two different size planets: large and small.
Easy Alternative: a movie of a person operating the portable star-planet model can be played instead of live presenter carrying a real model around.
Orrery, Light Sensor, Graphing Software and Display for Light Curves
For the “Transiting Planets” section of the show, you need a star-planet model (orrery), ideally with two sizes of planets that orbit at different speeds and different distances from the model star.
For the orrery, here are some ideas for how it can be done:
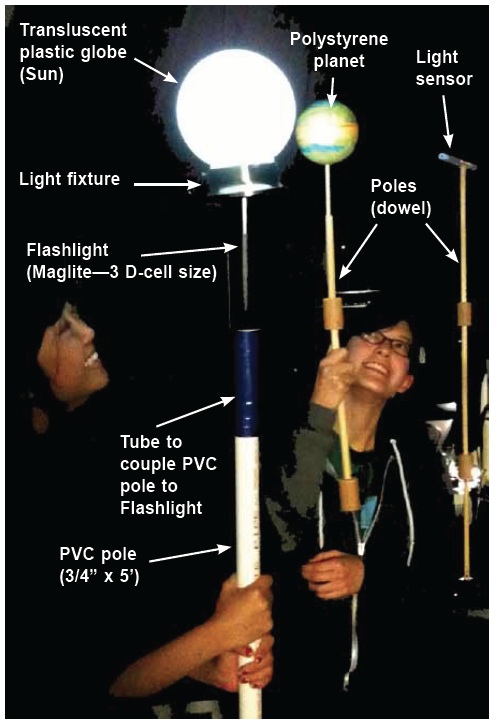
A. Walking One-Planet Orrery
Make a “Walking Orrery” with just one planet. The star is a transluscent globe mounted over a flashlight attached to a pole that rests on the floor on a spot marked with a masking tape “X.” That’s held in position by an audience volunteer. A polystyrene planet is put on another pole and held by another volunteer who walks in orbit around the star. There can also be a second planet, different size, on another pole. The light sensor is mounted on another pole at the same height as the star and planets. One planet is made to orbit very close to the star and the other planet can orbit farther from the star. This is especially fun and effective since it actively involves volunteers from the audience.
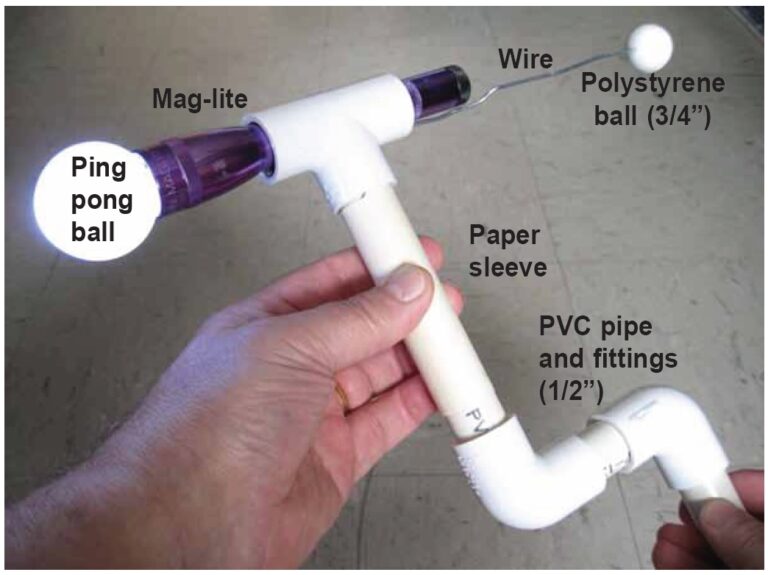
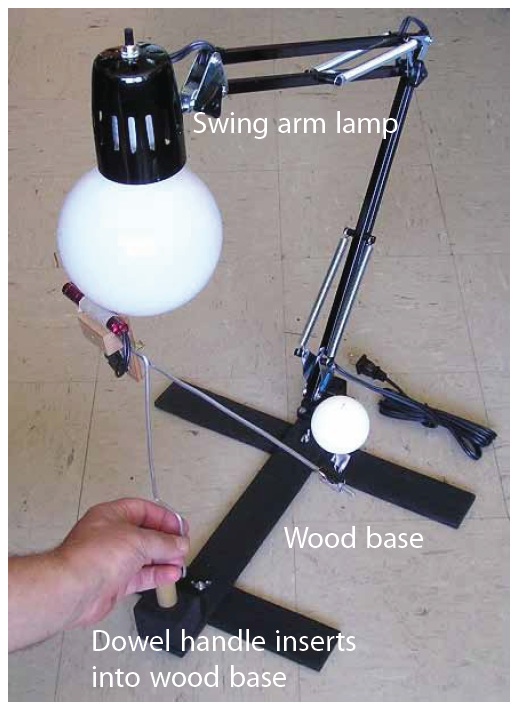
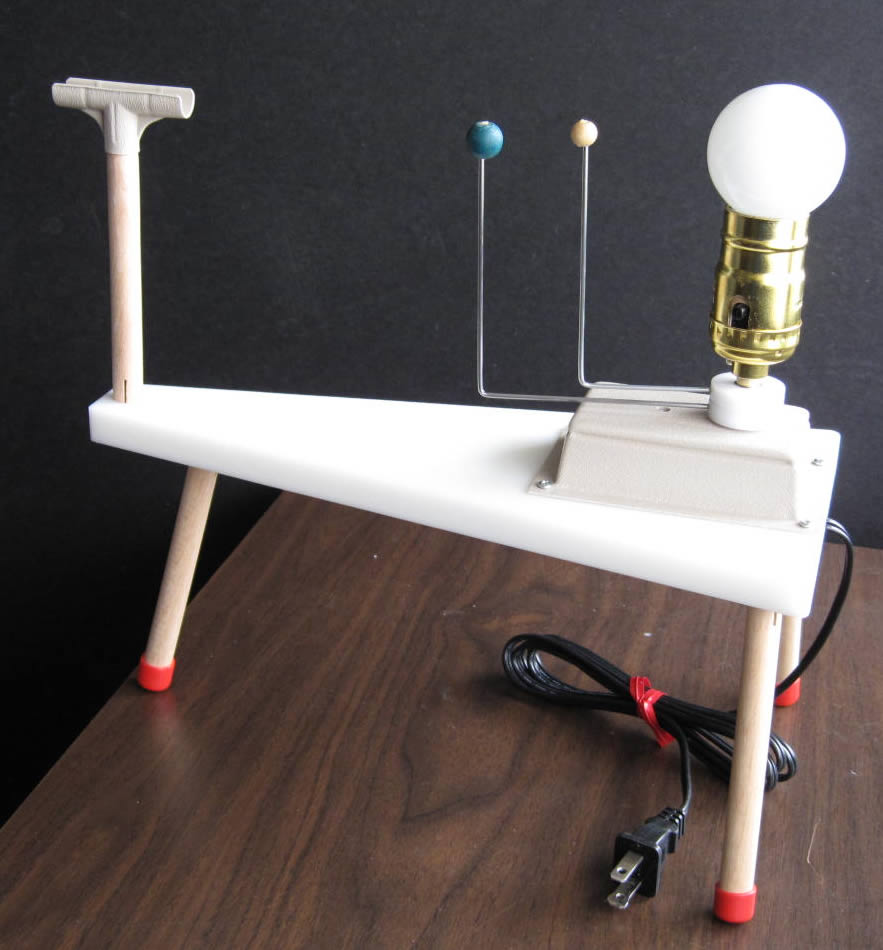
B. Portable One-Planet Orrery
The portable star-planet model from (2) can be used as a fixed model orrery, as long as it can be mounted as target of the light sensor. Use a 15-25 watt large spherically-shaped light bulb as a light source instead of the flashlight as a model star. A swing-arm lamp serves well for this purpose.
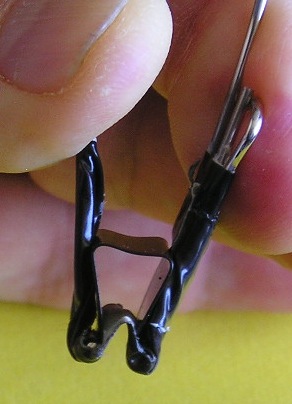
To allow planets to be different sizes and orbit radii, a binder clip, paper clip, and a planet can serve nicely as adjustable distance.
C. LEGO Orrery
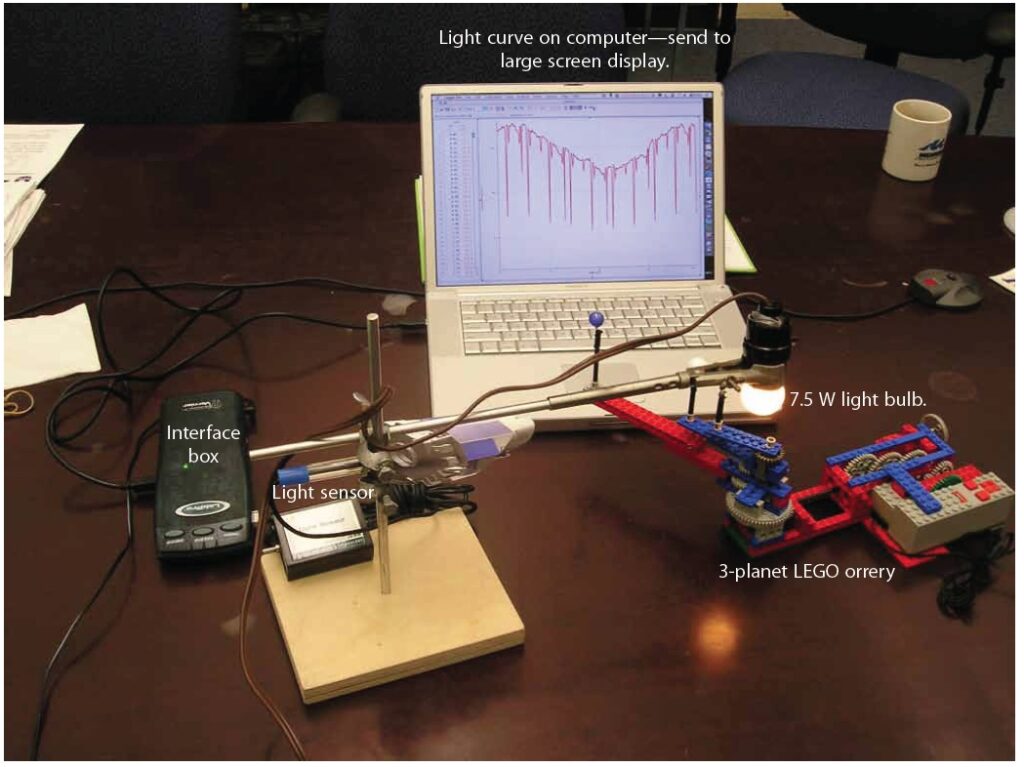
A multi-planet orrery can be made from LEGO parts. See the archived NASA Kepler website for instructions on how to build one. It can even be motorized. Photo shows a complete setup of a 3-planet LEGO orrery, model star (light bulb), sensor, and laptop with light curve visible. Of course instead of a laptop display, the light curve must be projected on your dome.
D. Commercially available 2-planet orrery with light sensor stand
Distributed by Delta Education. Photo shows a prototype version.
For a light sensor, our field tests were done with a Vernier light probe and Vernier Logger Lite software. The sensor needs to be mounted on a stand at about the same height as the “star” in the star-planet model. The stand can be made of PVC, metal wire, wood dowel…use your imagination.
Tinker with the software settings so that you get a light curve with easy-to-see characteristics. A 40-second time period for data collection is adequate to generate two curves successively, for side-by-side comparison of different size or different distance planets. The procedure for acquiring the side-by-side light curves is described in the script, using the 1-planet model or the Walking Orrery. Once you get the settings how you like them, save the file and use that to start up the software, so that the settings are automatically right for your program.
Easy Alternative for Orrery: movies of an orrery being used to generate a light curve (Orrery.mov). It is very effective to show side-by-side one movie of the orrery being cranked with planets moving and a second movie of the light curve being generated on the computer monitor.
Optional Handouts
Strange Planets take-home handout (PDFs: Side 1 and Side 2) and
Exoplanet Size and Orbit Size Lookup Chart